Adding a Domain Forwarder
You can add a new domain name to forward to another domain or even a directory within another domain. First, ensure you are logged into your account at http://hosting.xmission.com.
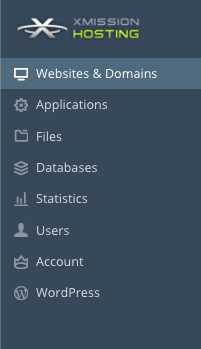
- From the Control Panel, click on the "Websites & Domains" tab near the top of the screen.
- Near the bottom of the screen, click the "Add New Domain" button.
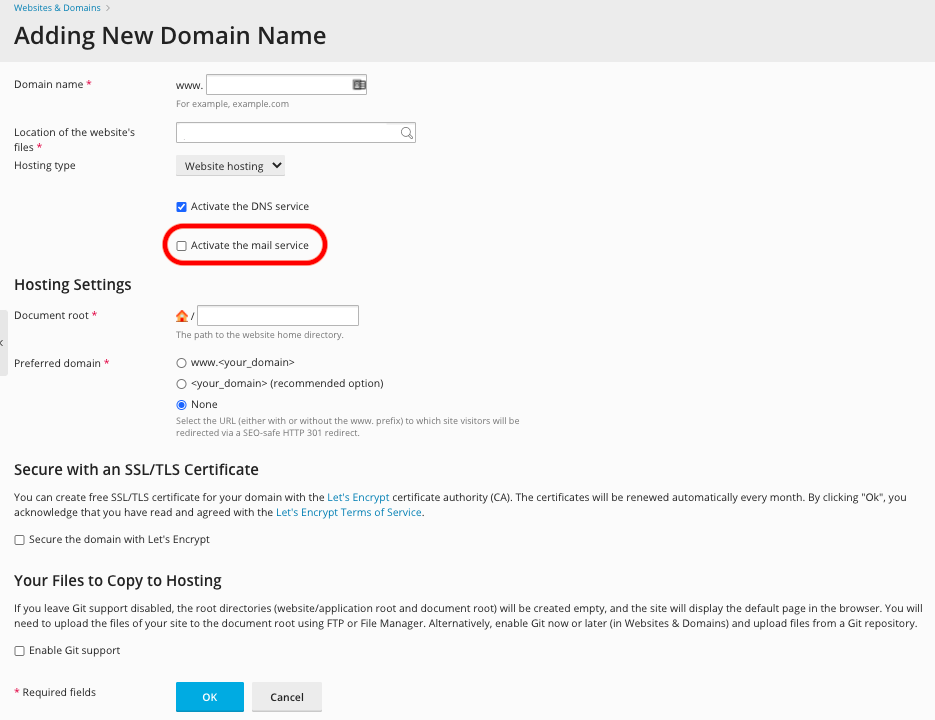
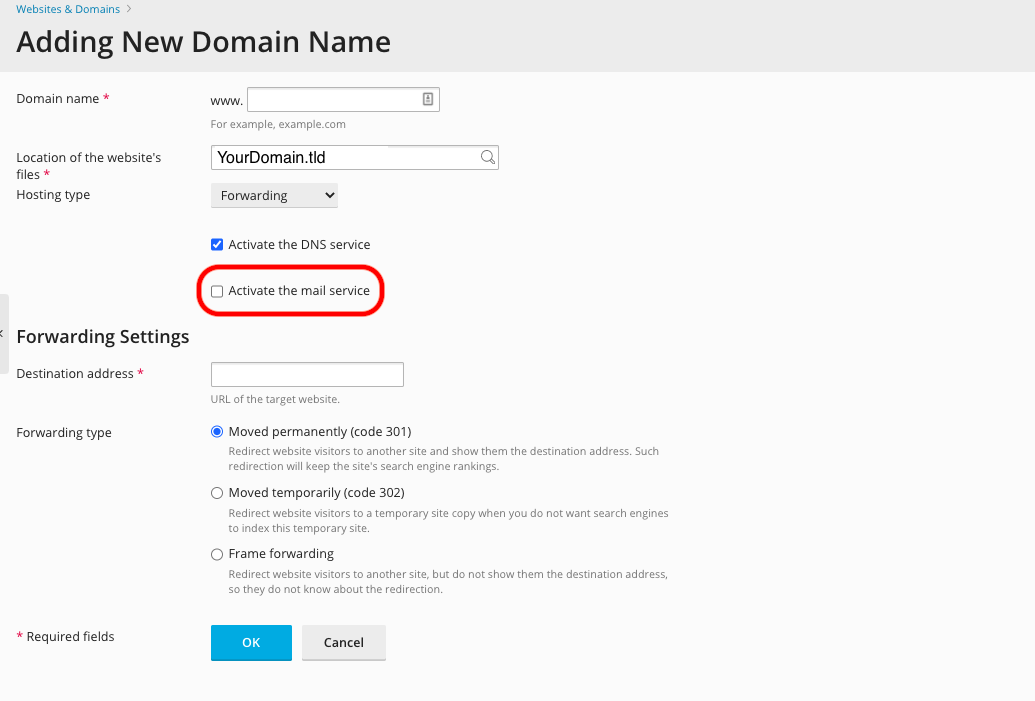
- On this screen, you will need to enter the following highlighted pieces of information. A brief description of each follows the image.
- Domain name: This is the name of your new domain. In this example, we would be adding the domain "example-domain.com."
- DNS Server Configuration: Most likely, you will be using XMission for DNS and so the box shown above should be selected.
- Next fill in the Hosting Settings
- Hosting Type: Select "Forwarding."
- Destination address: This is where the new domain will forward to. You can have it forward either to another domain entirely or a subdirectory of another domain. In this example, our forward for "example-domain.com" will forward people to the subdirectory "example" at "xdesign.com."
- Forwarding type: Select "Standard forwarding" if you want the URL in the address bar of the visitor's browser to show the real address of the forward (e.g. "xdesign.com/example"). Select "Frame forwarding" if you want the forward to appear as the domain you are adding (e.g. "example-domain.com").
- Once you've entered the correct information for your new domain, simply click "OK." You will see the following text indicating your new domain has been created successfully!
Related Articles
Adding a Domain
Plesk Shared Hosting: Adding a Domain You can create additional domains for use with your Shared Hosting account. First, ensure you are logged into your account at http://hosting.xmission.com. From the Control Panel, click on the "Websites & Domains" ...Adding a Domain Alias
Plesk Shared Hosting: Adding a Domain Alias You can create additional aliases for use with any domains in your Shared Hosting account. First, ensure you are logged into your account at http://hosting.xmission.com. From the Control Panel, click on the ...About FTP and Shared Hosting
Plesk Shared Hosting: About FTP and Shared Hosting What is FTP? FTP (Secure File Transfer Protocol) is a protocol used to transfer files over a TCP/IP network (Internet, UNIX, etc.). For example, after developing the HTML pages for a website on a ...Adding a Subdomain
Plesk Shared Hosting: Adding a Subdomain You can create additional subdomains for use with any domains in your Shared Hosting account. First, ensure you are logged into your account at http://hosting.xmission.com. From the Control Panel, click on the ...Adding/Managing DNS Records
Plesk Shared Hosting: Adding/Managing DNS Records Manage DNS zones for your domain names. From the Control Panel, click on the "Domains & Websites" tab near the top of the screen. Click on the little arrow to expand the view for your Hosting Settings ...


